Fixing Those Annoying Cold Spots in Your Industrial Bread Ovens
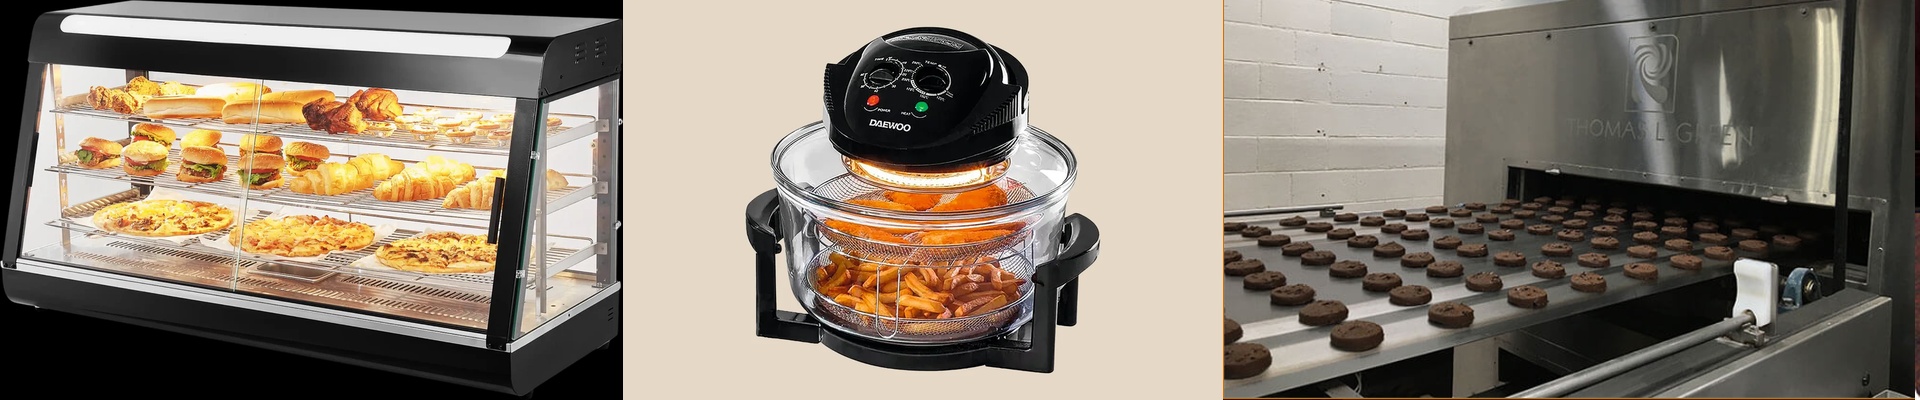
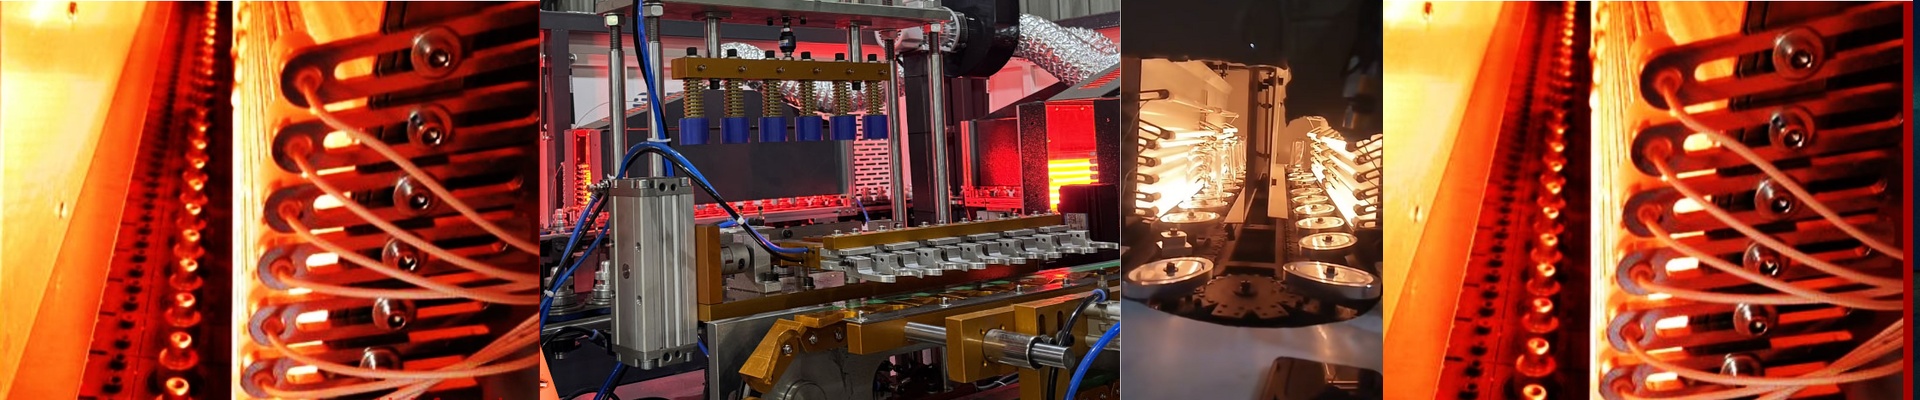
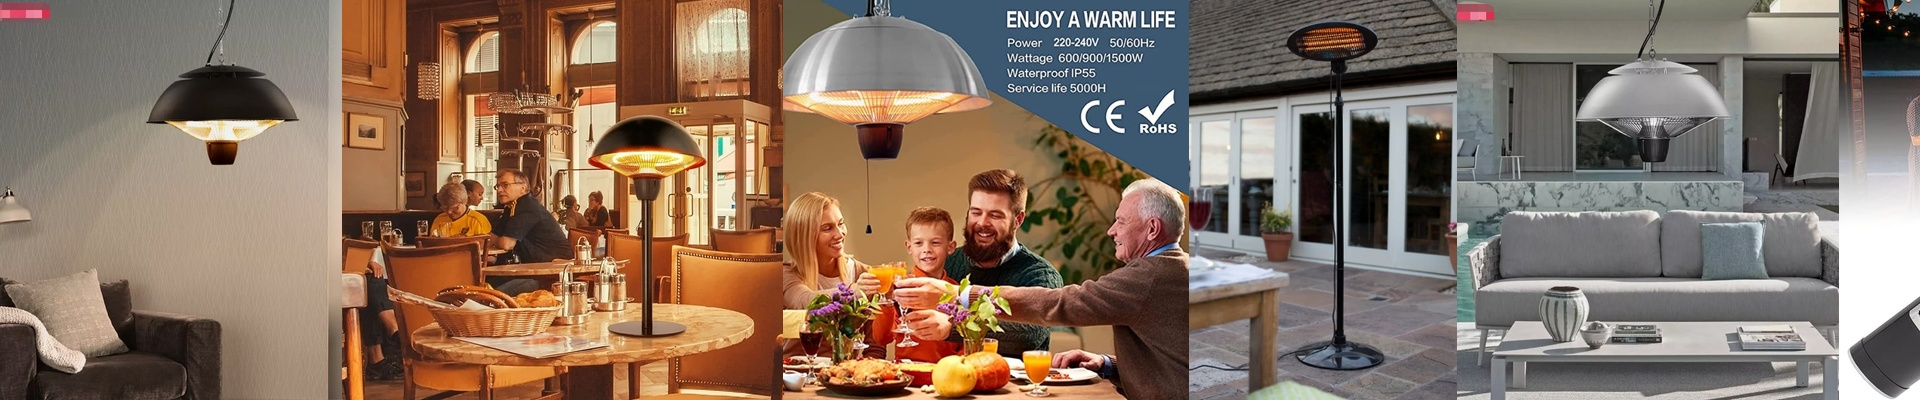
If you’ve spent any real time with a large convection oven, you know the frustration. You pull out a tray and the center looks perfect, but the edges? They’re pale. Underbaked. It’s a headache because your airflow just isn’t hitting the corners the way it should. We decided to stop fighting the air and start using light. By putting high-density infrared (IR) lamps right along the perimeter, we can finally get those edges to behave. Why IR actually works Here’s the thing: convection is slow. It relies on moving air, and air just doesn’t react fast enough to fix those chilly spots by the oven walls. IR is different. It doesn’t care about the air; it beams energy directly onto the dough. We use lamps with a high wattage-to-length ratio to create a sort of “heat curtain.” This basically plugs the thermal leaks happening at the seams and door gaskets. The gear and the “gotchas” We went with short-wave quartz elements. I prefer these because they dive deeper into the dough. You don’t end up with that annoying problem where the crust is charred but the middle is still raw. Plus, they’re designed to drop right into most standard OEM setups without a fight. But a quick heads-up: keep an eye on your power. Adding these arrays bumps up the amp load on your control panel. Double-check your wiring and contactors. You don’t want to find out the hard way that your electricals can’t handle the extra current. Setting it up and keeping it running Bakery environments are brutal—lots of heat and a ton of humidity. That’s why we used reinforced end-caps. It keeps the moisture out of the filaments, which is usually what kills these lamps in a food-grade kitchen. Installation is pretty simple. Just wire them into your existing PID controllers. The trick is to set them to kick in only during the final browning phase. That way, you get that gorgeous, consistent golden-brown color across the entire tray without accidentally turning your bread into toast.